I can’t believe how long it’s been since I’ve provided a new post. All the items I mentioned in my last post Unfinished Business are now complete.
Back in Oct 2010 I was having trouble keeping pressure in my water line from the lake. I had the gash in the water line fixed and after a few weekends of getting all the air pushed out of the line it finally primed.
I’ve got 50psi and everything seems to be working fine. The heat line has been great meaning I’ve had no problem getting water throughout the winter.
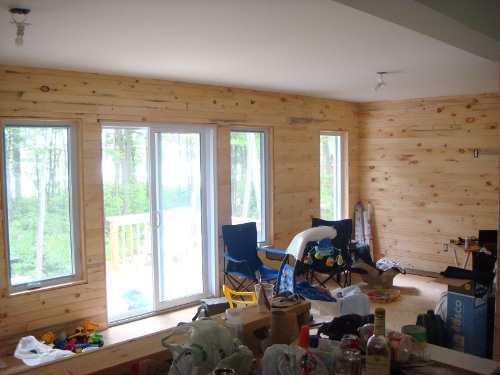
I finished connecting the drainage plumbing for the kitchen sink and I’ve installed the corner shower. I now have hot and cold water running and I’m able to take a shower and wash dishes. This is a huge change from the way I’ve been living up there and makes things much more civilized.

To make things even more comfortable I connected the satellite dish so now I have TV and satellite radio to listen to, which is another bonus since choice of radio stations is pretty poor up there. This past weekend I had a few friends up to help and everything ran very smoothly. We were able to finish the flooring in the last bedroom, hang the interior doors, and hang the kitchen wall cabinets and range hood microwave. Again such small things seem…well…small, but to have a door on the bathroom provides much needed privacy. Cabinets on the walls means cups and dishes can be put away rather than in boxes on the floor.
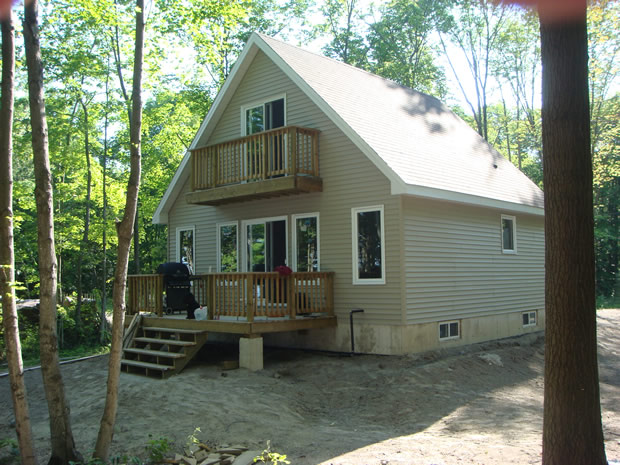
And warming food up is a breeze now with the microwave. On top of that it all looks good! The remainder of things to do are very small, like baseboards, trim, and blinds. This summer will be focused on outside of the cottage and landscaping. I’m looking into alternatives to grass for the lawn so I don’t have to worry about mowing it all the time. I’ll let you know what I find.